Hardness measurement
Hardened steel requires high-quality test equipment and accurate preparation of the surface to ensure quality and to achieve accurate and correct measurements.
Hardness test
1. Select test piece
The test piece must be at least 8 times thicker than the impression depth.
2. Cut the test piece
The test piece shall be cut with equipment that avoids heat impact on the test piece. If the test piece is heated above 160 °C / 320 °F the test result is considered invalid. Heat above the approved temperatures will affect the hardness of the steel.
3. Polish the test surface
The test surface must be polished and free from oxide before the test can commence. See the example below of a correctly prepared surface:
NOT OK OK
4. Select the correct test equipment
The test equipment must be specifically made for testing hardened steel. See the example below: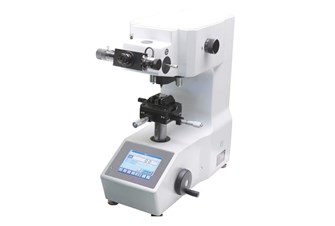
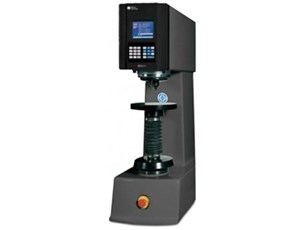
The test is performed by applying a specified sphere with force to the prepared surface. The width of the indention diameter specifies the hardness. See the example below: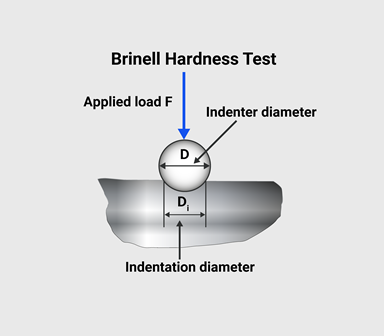
The test shall be performed with a calibrated Brinell test equipment. A 10 mm hard metal ball is forced into the surface 0.5-1 mm below the surface of the steel piece, and with a force of 3 000 kg. The angle must be 90 degrees against the test surface.
CAUTION!
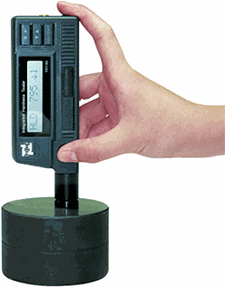
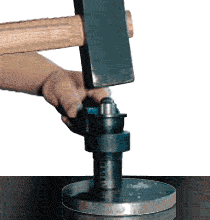
Portable and manual test equipment is not accurate enough to get a trustworthy result and therefore not sufficient as measurement equipment. See examples below: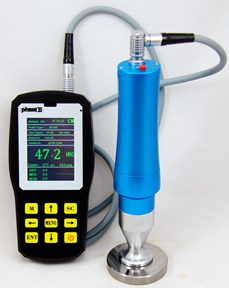
Olofsfors AB - Main office
Phone: +46 (0) 930-396 00
E-mail: info@olofsfors.se
Address: Olofsfors AB - Main office
Olofsfors 11
SE-914 91 Nordmaling, SE